Important Steps to configure dotAI for Searching/Chat
This guide details the process of enabling and setting up AI search and chat features in the dotCMS back end. This is the gateway to a wide variety of AI content management functionalities.
Step #1: Installing pgvector
dotAI Search works with indexes to perform granular searches. This allows an AI provider to yield more accurate results when, for example, looking for answers in Blogs or narrowing the content to public data published on a site.
If you manage your own database from scratch, you must add the pgvector extension to your Postgres DB. If you have a docker-compose file, you probably have a section in your file that looks like this:
    postgres:
        container_name: postgres-dotcms
        image: postgres:17
        command: postgres -c "max_connections=400"
        ports:
            - '5432:5432'
        environment:
            POSTGRES_USER: ${POSTGRES_USER}
            POSTGRES_PASSWORD: ${POSTGRES_PASSWORD}
            POSTGRES_DB: ${POSTGRES_DB}
        volumes:
            - dbdata:/var/lib/postgres
        networks:
            - db_net
You will need to replace the image value of postgres:17 with pgvector/pgvector:pg17.
It will look like this after the change:
    postgres:
        container_name: postgres-dotcms
        image: pgvector/pgvector:pg17
        command: postgres -c "max_connections=400"
        ports:
            - '5432:5432'
        environment:
            POSTGRES_USER: ${POSTGRES_USER}
            POSTGRES_PASSWORD: ${POSTGRES_PASSWORD}
            POSTGRES_DB: ${POSTGRES_DB}
        volumes:
            - dbdata:/var/lib/postgres
        networks:
            - db_net
That image will include the version 17 of postgres and the pgvector extension installed by default.
Now you are ready to launch dotCMS.
Step #2: Configuring dotCMS
Once your dotCMS instance is up and running, go to Settings > Apps and search for the dotAI App.
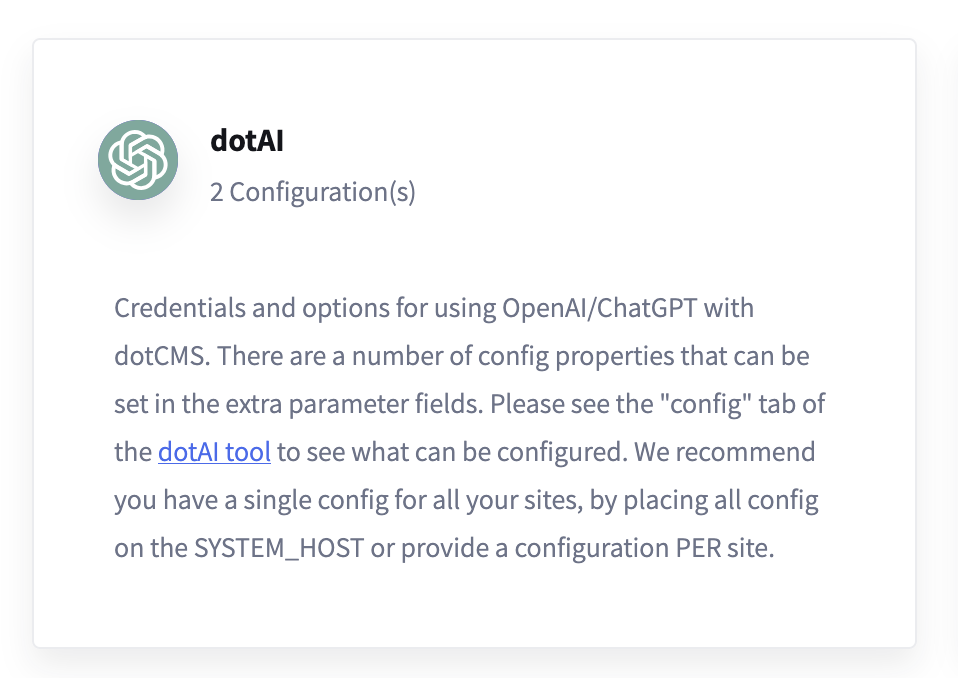
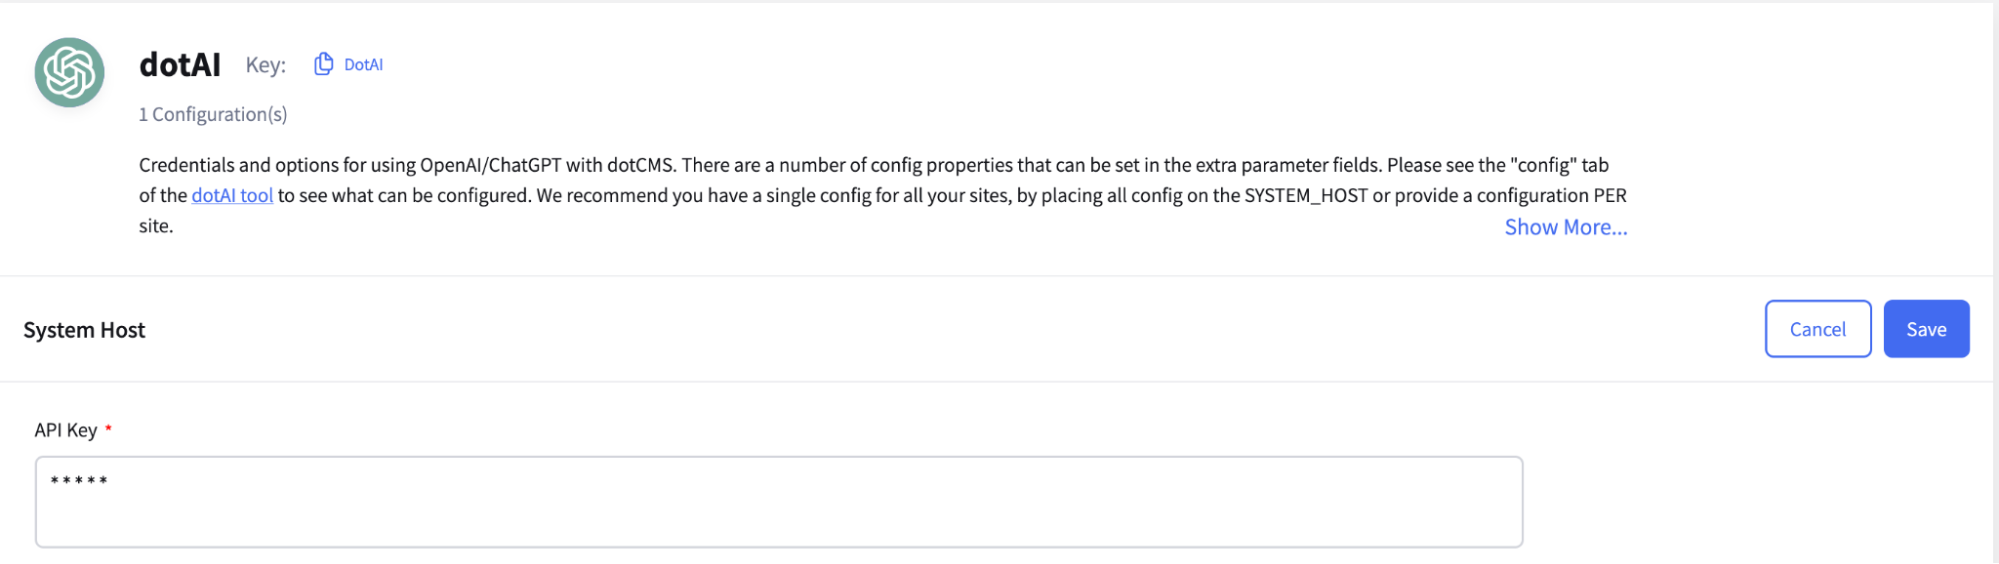
Select the System Host option and you will see that it has a long form with many options. You can check the details of it here. For now, we just need to fill the API Key field.
Note: Check where your content lives, if you want to scope the index to a site, you'll need to add the API Key in the desired site, which may also require extra configuration. For simplicity, System Host should be enough.
You can get a key from: https://platform.openai.com/api-keys
After you add the key, you just need to click Save.
Step #3: Creating Indexes
After we configured dotCMS correctly, we just need to add indexes.
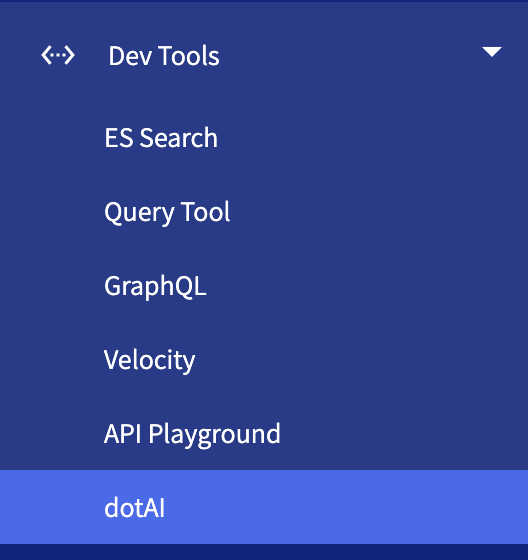
First of all, make sure that you have the dotAI portlet inside of the Dev Tools tool group:
If not, you can follow this guide to add it.
Browse to this tool, and visit the Manage Embeddings/Indexes tab. From there, you can create indexes via Lucene Query:
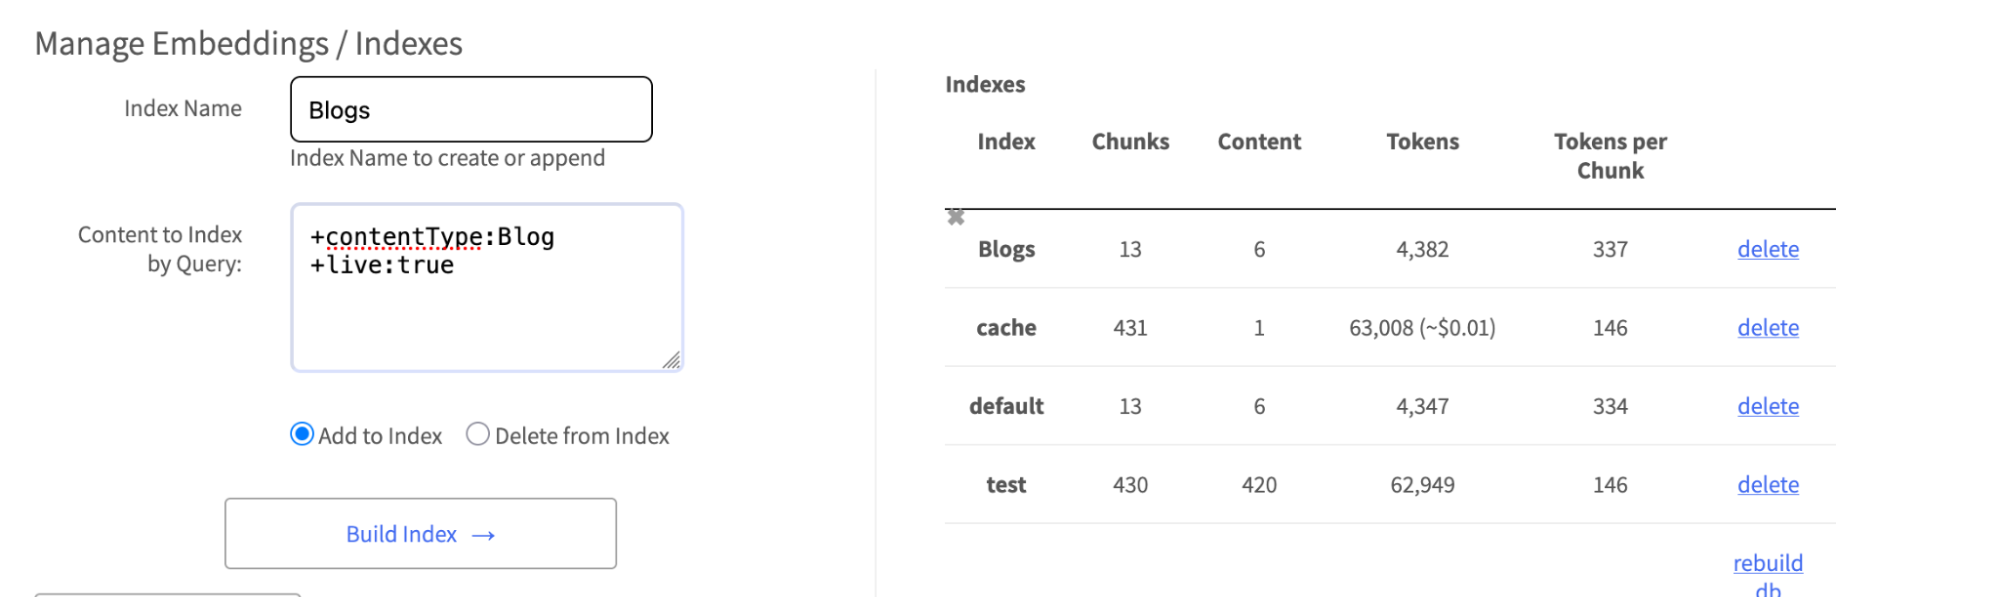
For example, there I created an index of all Blogs that have been published.
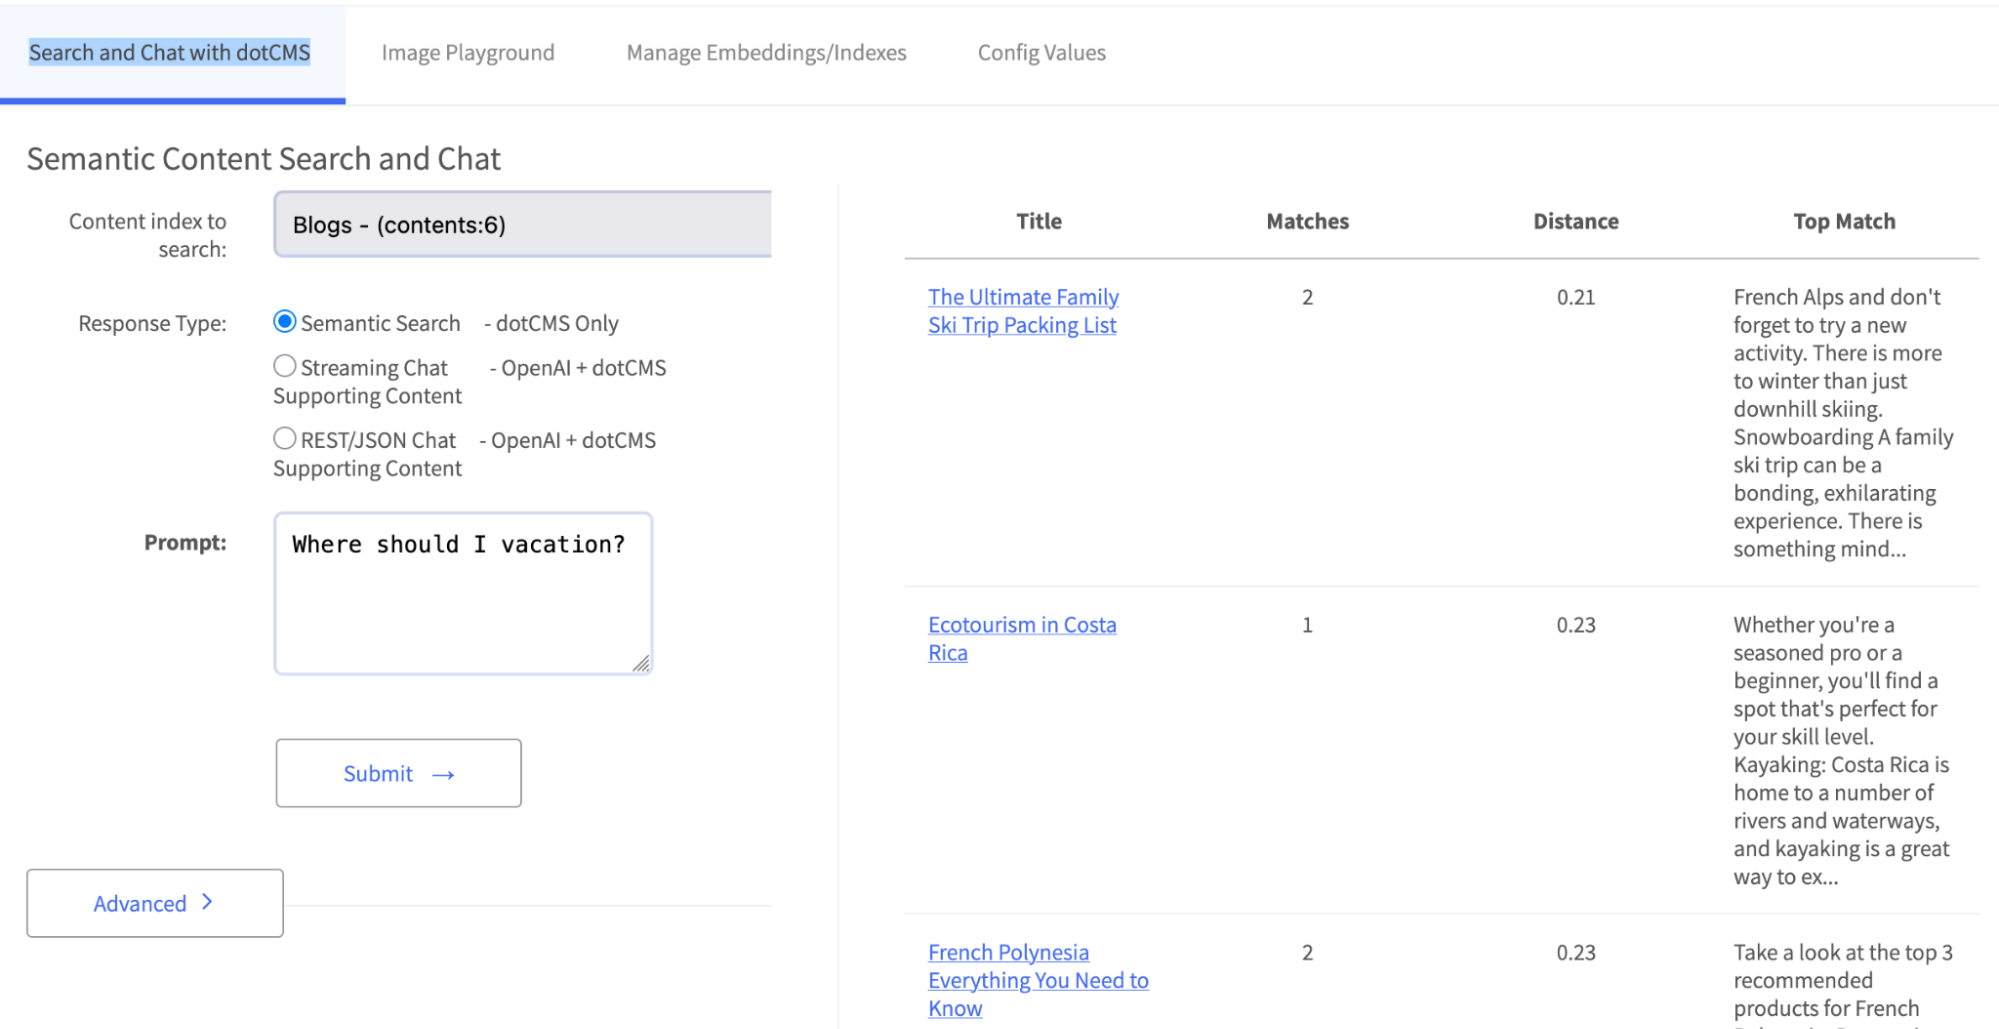
Once the index finishes building, you can go to Search and Chat with dotCMS, select the new index and start playing around!